Setting Up a Matrix Server on Ubuntu 20.04 – Part 2

In part 1 of this tutorial, I dived into my reasons for setting up a Matrix Synapse homeserver, and how to set up the basics of the server and it’s required software. In part 2, I’m going to register myself an admin account, log into the server using the online chat client, to verify it’s all working as it should, and migrate the database engine from SQLite to Postgres.
A quick reminder, all server commands are run as the root user.
Register an admin user account
Installing the Matrix Synapse server software also installs a few executables on the server, that can be used for specific tasks. register_new_matrix_user is one such executable, and it allows you to register a new user from the command line of the server.
register_new_matrix_user -c /etc/matrix-synapse/homeserver.yaml http://localhost:8008The process will ask you for a user name, password, and whether to make this user an admin or not.
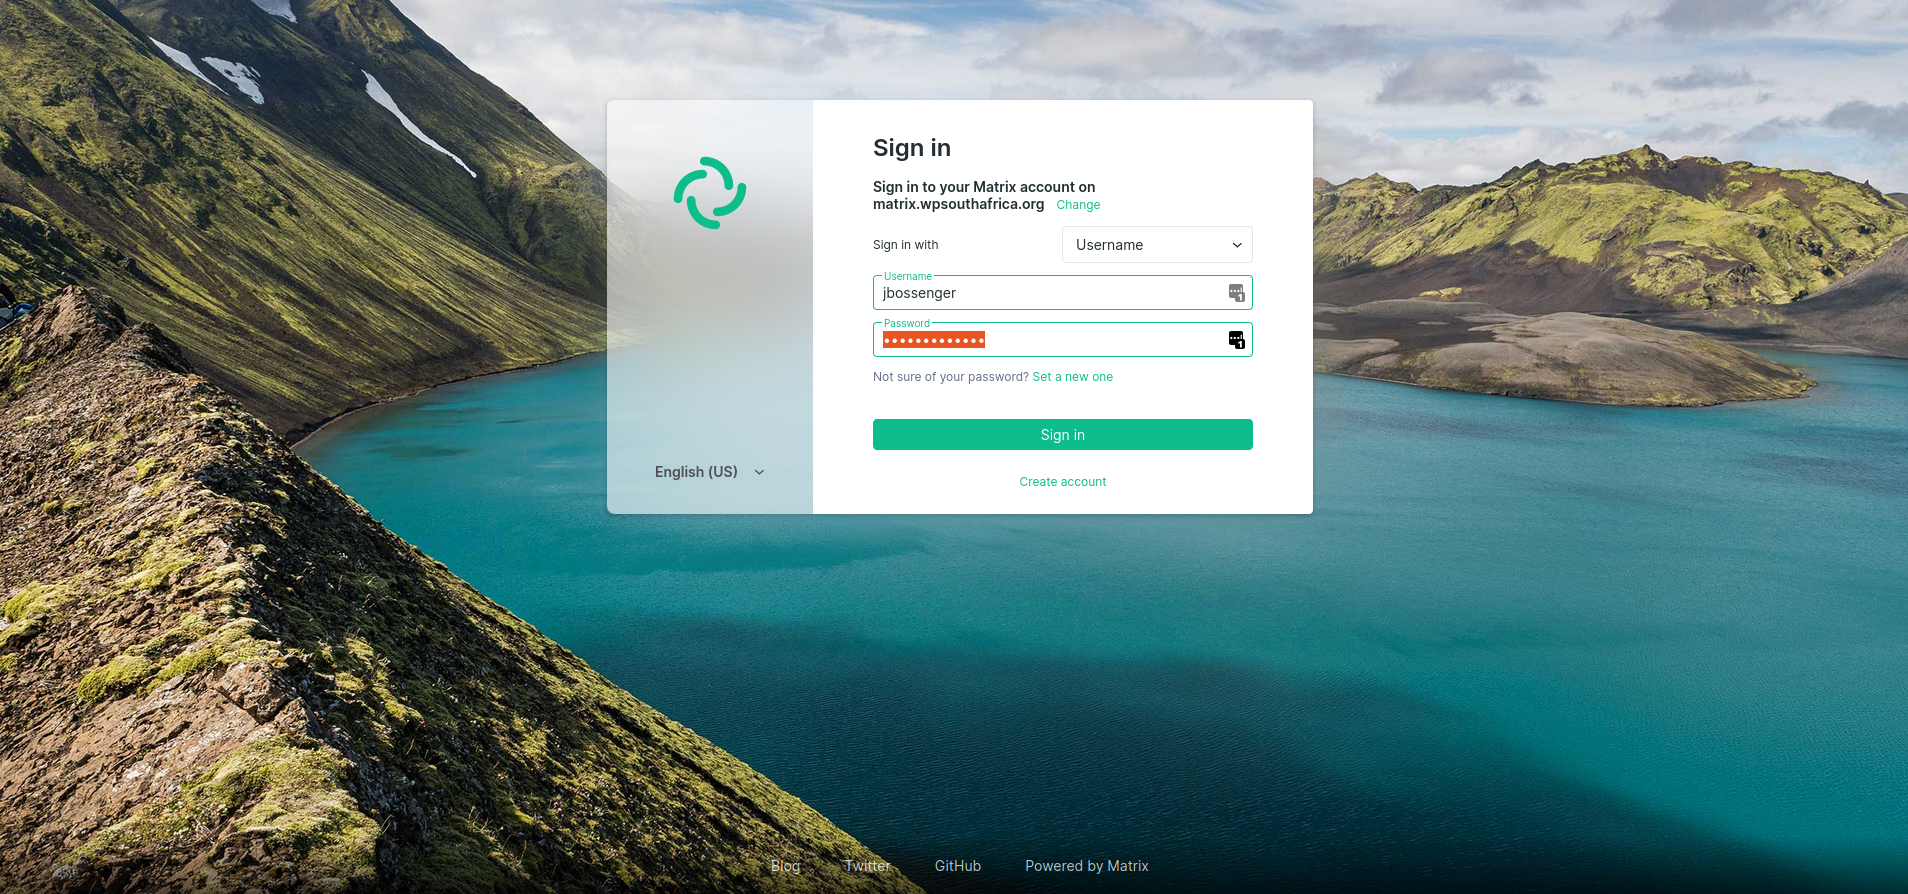
Once you’ve created the user, you can log in to the homeserver via the Element web client hosted at https://app.element.io/#/login, or download Element for your operating system, and Sign in from the client.
Either way, to sign in to your server, click on the Change link, next to “Sign in to your Matrix account on matrix.org”.

Enter the server domain as the homeserver URL and click Next.

Enter your user name and password and click Sign in.
Switch Database Engine
While Matrix Synapse shops with SQLite by default, the official documentation suggests this only for testing purposes or for servers with light workloads. Otherwise, it’s recommended to switch to Postgres, as it provides significant performance improvements due to the superior threading and caching model, and smarter query optimiser, and allows the database to be run on separate hardware.
Install Postgres
First step is to install Postgres on the server.
apt install postgresql postgresql-contribWe then need to create a user for synapse to use to access the database. We do this by switching to the postgres system user, and running the createuser command
su - postgres
createuser --pwprompt synapse_user
The createuser command will ask you for a password, and create the synapse_user with that password.
Now we can create the database, by logging into the Postgres database server, while operating as the postgres system user.
psqlOnce logged in, we can create the database, and assign it to the synapse_user
CREATE DATABASE synapse
 ENCODING 'UTF8'
 LC_COLLATE='C'
 LC_CTYPE='C'
 template=template0
 OWNER synapse_user;
Then we need to allow the synapse_user to connect to the database. The Postgres docs for Synapse talk about possibly needing to enable password authentication, but I found that by default this was already endabled, so all I had to do was add the relevant file to the pg_hba.conf file. I wasn’t sure how to find the pg_hba.conf file on my system, but this Stack Overflow thread explained what commands I could use when logged into the Postgres database server.
show hba_file;My pb_hba.conf file was located at /etc/postgresql/12/main/pg_hba.conf.
Towards the bottom of the file, I added the Synapse local connection section to allow the synapse user access to Postgres.
# Database administrative login by Unix domain socket
local   all             postgres                                peer

# TYPE  DATABASE        USER            ADDRESS                 METHOD

# "local" is for Unix domain socket connections only
local   all             all                                     peer
# IPv4 local connections:
host    all             all             127.0.0.1/32            md5
# Synapse local connection:
host    synapse         synapse_user    ::1/128                 md5
# IPv6 local connections:
host    all             all             ::1/128                 md5
# Allow replication connections from localhost, by a user with the
# replication privilege.
local   replication     all                                     peer
host    replication     all             127.0.0.1/32            md5
host    replication     all             ::1/128                 md5
Because line order matters in pg_hba.conf, the Synapse Postgres docs make a point of the fact that the Synapse local connection needs to be just above the IPv6 local connections.
Migrating the SQLite data to the Postgres database
In order for the data to be migrated from the SQLite database to the PostgreSQL database, we need to use the synapse_port_db executable, which requires that the homeserver.yaml file includes the correct server_name. So edit the homeserver.yaml, and set the server_name to your domain name from part 1.
nano /etc/matrix-synapse/homeserver.yamlserver_name: "domain.com"The next step is to make a copy of the homeserver.yaml file, in preparation for the Postgres set up
cp /etc/matrix-synapse/homeserver.yaml /etc/matrix-synapse/homeserver-postgres.yamlThen, edit the new /etc/matrix-synapse/homeserver-postgres.yaml file, so that the database settings point to the newly created Postgres database.
#database:
#  name: sqlite3
#  args:
#    database: /var/lib/matrix-synapse/homeserver.db

database:
  name: psycopg2
  args:
    user: synapse_user
    password: dbpassword
    database: synapse
    host: localhost
    cp_min: 5
    cp_max: 10
Make sure that the newly created /etc/matrix-synapse/homeserver-postgres.yaml file is owned by the correct system user.
chown matrix-synapse:nogroup /etc/matrix-synapse/homeserver-postgres.yamlNext step is to copy the SQLite database, so that we can import from the copy, and give that copy the correct permissions.
cp /var/lib/matrix-synapse/homeserver.db /var/lib/matrix-synapse/homeserver.db.snapshot
chown matrix-synapse:nogroup /var/lib/matrix-synapse/homeserver.db.snapshot
We should then stop the matrix-synapse server, before we run the import.
systemctl stop matrix-synapseNow we can use the synapse_port_db command to import the data from SQLite to Postgres, using the SQLite snapshot, and the Postgres enabled homeserver-postgres.yaml.
synapse_port_db --curses --sqlite-database homeserver.db.snapshot --postgres-config /etc/matrix-synapse/homeserver-postgres.yamlOnce the import successfully completes, we can backup the current SQLite enabled configuration.
mv /etc/matrix-synapse/homeserver.yaml /etc/matrix-synapse/homeserver-old-sqlite.yamlFinally, we set the Postgres enabled yaml as the default.
mv /etc/matrix-synapse/homeserver-postgres.yaml /etc/matrix-synapse/homeserver.yamlAt this stage, it’s a good idea to make sure that the new /etc/matrix-synapse/homeserver.yaml file has the right permissions set, and if not, set them correctly.
chown matrix-synapse:nogroup /etc/matrix-synapse/homeserver.yamlAnd that’s it, log into your Matrix server via the web client or desktop client, and if you’ve completed the import correctly, everything should be working as before.
That concludes the main set up requirements to have a working Matrix homeserver.
I do however plan to have two follow-up posts. In the first, I’ll dive into some of the quirks of signing into and verifying additional clients, once your initial sign-in has been successful.
For the second, I’ll be adding some testers to the mix, and I’ll document and any configuration changes I’ve needed to make, to get things usable as a community communication platform. This one might take a bit longer, as it relies on other folks testing the platform, giving me feedback, and me tweaking the server until it’s a workable solution.
Leave a Reply