About 8 years ago I built my first “proper” gaming computer, which for various reasons I nicknamed Psyrig. It wasn’t the first gaming computer that I owned, but it was the first time I carefully selected all the components, including the case, and put it together myself from the ground up. It was built to serve two purposes, both as a development workstation and a gaming rig.
In the years that have followed I upgraded the cooling fan, added a 128GB SSD to improve boot times and eventually upgraded the graphics card to handle newer games. After 8 good years of service, it was time for a more drastic upgrade: new motherboard, processor, memory and graphics card!
Part 1 – the plan
I’ve been toying with the idea of upgrading the computer for a while now. Since purchasing my first development laptop about 5 years ago, the computer was relegated to powering our home media centre, and the odd game when I had time. However I find gaming in the lounge to be suited better towards consoles and games that play better with controllers, so having a gaming computer not connected to a keyboard and mouse never seemed logical. What seemed even less logical was letting the power of a gaming computer run mostly as a media centre. So, after I purchased a 2nd hand workstation to take over media centre capabilities, the gaming computer was taken to my office and I started planning the upgrade.
The purpose of the upgrade was two fold.
First, I wanted to have a dedicated workstation at my office, on which I would maintain all my work. This would mean I would be less inclined to bring work home. Right now everything is on my laptop, which I bring home, and it’s too easy to just open it up and do some work. I also wanted to make sure that the upgrade would last me at least the next 5 years.
Second, I wanted to be able to play some of my newer game purchases on it. I recently purchased the latest Deus Ex game, and I’ve not had the time to get into it. So the idea was that whenever I took a break from work I could pop in a half hour of gaming instead of watching some YouTube video.
Part 2 – the parts
After much online shopping for probably the better part of the last year, I finally settled on another AMD powered set up. I’ve been an AMD fanboy since I got into serious PC gaming and my last two computers were AMD powered.
This time around I chose a AMD Ryzen 5 2600x with 6 cores and a core clock speed of 3.4 GHz. I partnered it with an MSI x470 gaming motherboard, 16GB of DDR4 RAM and a Zotac Geforce GTX 1060.

Part 3 – the OS
This was probably the trickiest part of this build.
I’ve been a Windows user, because gaming, for as long as I remember. However, I’ve been what I like to consider an Ubuntu power user since I discovered it in 2008. On my laptop, which came with a 128GB M.2 drive, I also installed a 500GB SSD, which runs Ubuntu and is my main OS of choice. I have Windows installed on the M.2 for when I feel like a game, or if Ubuntu isn’t playing nicely with some projector, which hasn’t happened since Ubuntu 17.10. I really like Ubuntu and all the unixy goodness when it comes to development. I also liked the fact that Valve recently started working on a project that will one day allow all my games to run smoothly on Ubuntu. That day is not however today.
Because I only have one SSD installed in the PC, it means either installing Windows now and then purchasing a new SSD later to dual boot, or installing Ubuntu and only playing the games that currently work on Linux. Granted the primary purpose of the computer is not gaming, so I doubt this will be a problem, but it’s also nice to have a Windows install for things that don’t work on Ubuntu (I’m looking at you Adobe Creative Suite).
I even went as far as asking folks on Twitter, and the resounding response was dual boot, which was going to be difficult at this time.
New PC hardware arrives today, can't decide between Windows, Ubuntu or dual boot. Windows = less Unixy goodness, although WSL is a thing, Ubuntu = only gaming on Linux supported titles (not that I game much anyway). Dual boot is a PITA. #firstworldproblems
— Jonathan Bossenger (@jon_bossenger) September 10, 2018
By the time I came to the actual build, I still didn’t know what to do.
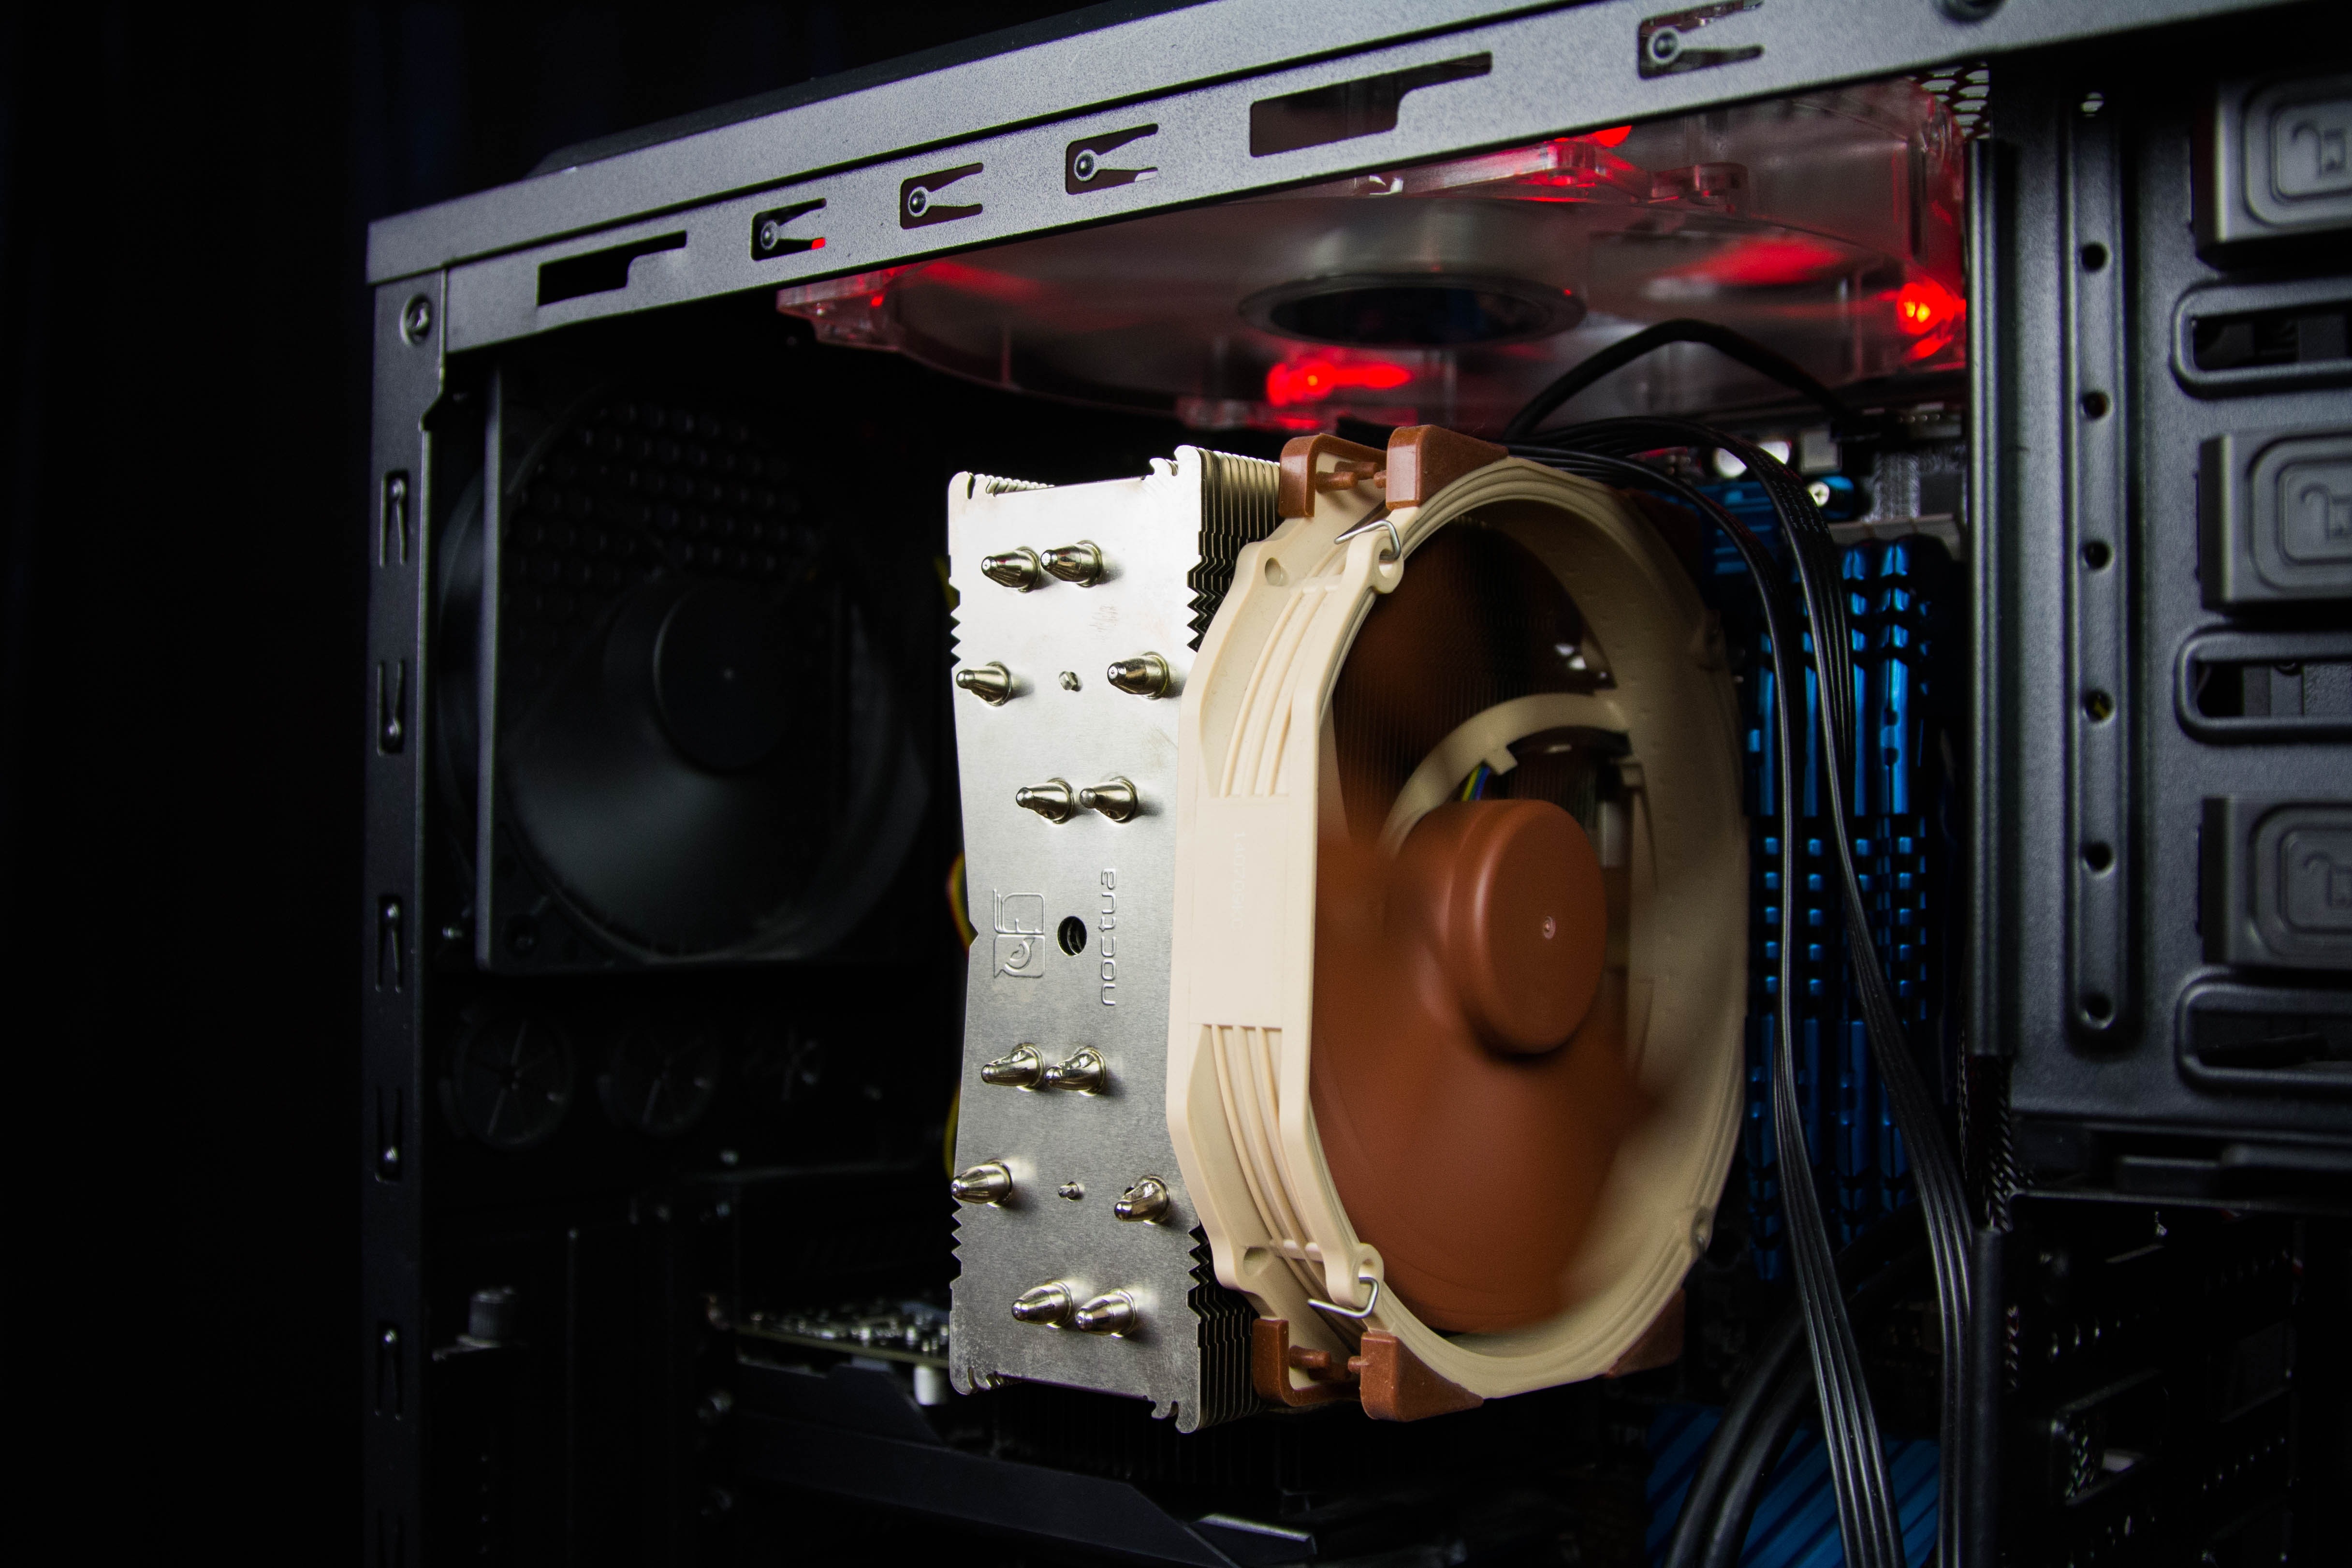
Part 4 – the build

When I’m building or upgrading a computer I like to open all the boxes and lay all the new parts out on the table around the case, along with any tools I might need. After 10 or more years of building, upgrading and fixing computers, I’ve learned to make sure everything I will need is close at hand. The one thing that is missing are the cable ties, but I knew where to find them when I needed them.
During the upgrade I was reminded why I decided to not go into computer hardware for a living. Having big hands and fingers makes it tricky to get into all the nooks and crannies of a computer casing to ensure mounting screws and the like are properly installed.
About halfway through the process, things got a little interesting. While plugging in the various case cables (power switches, front side audio and the rest) I discovered that my new motherboard supported M.2 drives! This was quite a moment, because I realised that if I could take the M.2 drive out of my laptop, I could keep the laptop as an Ubuntu machine and effectively dual boot the computer.
Taking the M.2 drive out of the laptop proved to be easier than expected, once I realised that part of the bootloader was installed on the M.2 drive. I quickly created a bootable Ubuntu USB, booted live from the USB and installed the Boot Repair tool. This reinstalled the bootloader onto the Ubuntu installed SSD, and I could now safely remove and install the M.2 drive into the computer.

The next things that happened absolutely shocked me. After plugging all the cables in I booted the computer, expecting it to give me some ‘non bootable disc error’ or similar. But no, it actually booted into the Windows 10 install on the M.2 drive and, after setting up some devices, I was actually able to use the computer. I was not aware that Windows 10 was able to do this and even though I intend to reinstall everything from scratch anyway, I was pretty impressed. Maybe Microsoft has come as far as everyone says they have.
And that was it, I’ve installed Windows on the SSD and Ubuntu on the M.2 and I’m happy dual booting on the computer. I was hoping to be able to Activate my Windows install using the Windows 10 key I had installed on the old system, but it turns out the free upgrade license I have doesn’t support a motherboard change. I found this a little annoying. I could go and buy a new Windows license, but seeing as I’m only going to use that drive for gaming, I may just leave it un-activated, it turns out that Microsoft doesn’t cripple un-activated installs like they used to.
Now all that’s left is installing all the software…
Leave a Reply